Replacing filter cartridges of security filters is the most frequent daily maintenance task for reverse osmosis systems. The core principles of this operation are to eliminate secondary contamination and strictly avoid sealing short circuits. Non-standard replacement operations will easily lead to contamination, clogging and abnormal pressure difference of reverse osmosis membranes.
Section 1 Pre-operation Preparation (Core Requirements: Safety, Cleanliness & Compliance)
1.Personal Protective Equipment
Wear clean work clothes, goggles and brand-new disposable sterile gloves. Never touch filter cartridges, sealing rings or equipment sealing surfaces with bare hands to avoid secondary contamination caused by grease, bacteria and foreign particles. Replace gloves immediately if they are torn.
2.Spare Parts Inspection
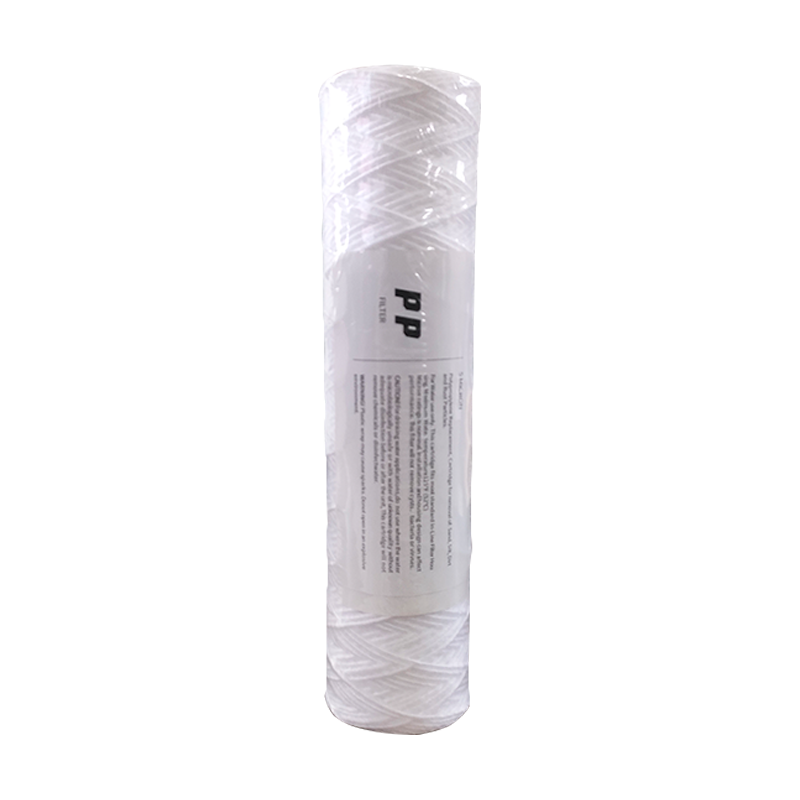
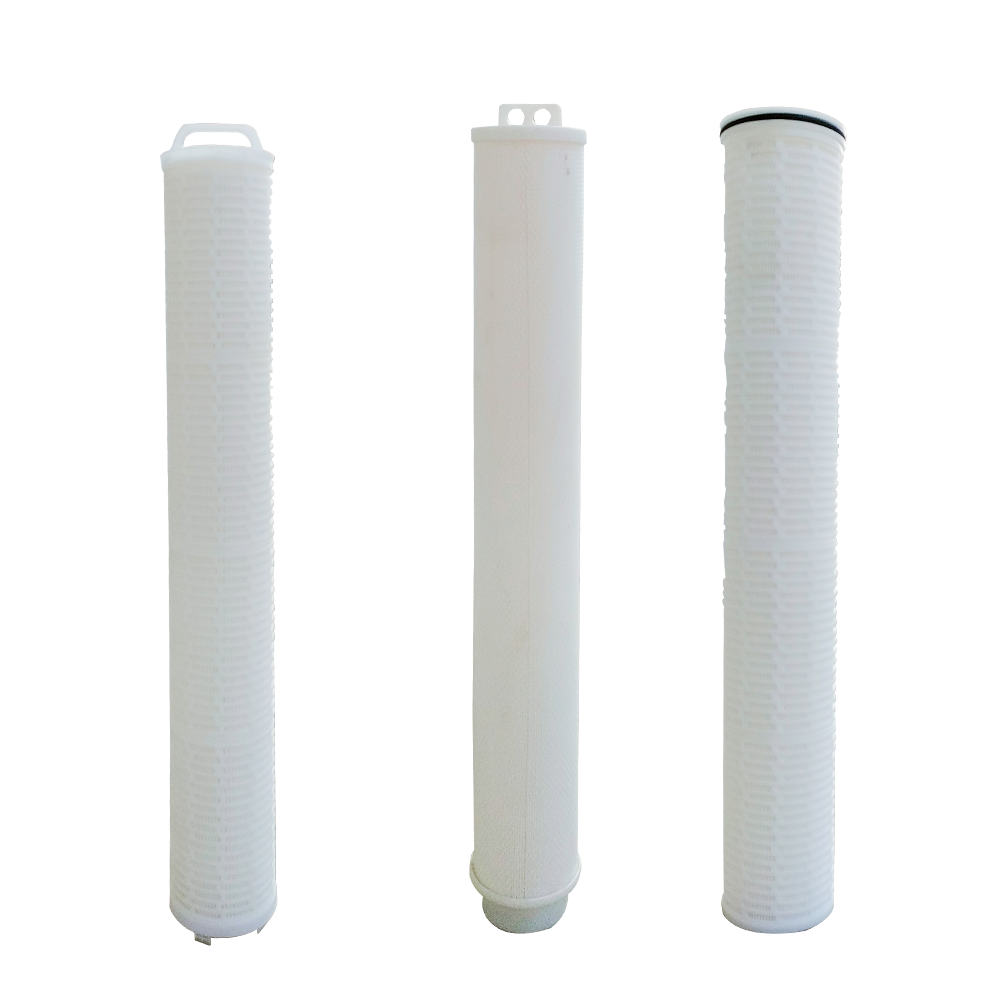
Confirm new cartridges are rated at standard 5 μm filtration precision. Verify that cartridge length, connection type and model match the equipment. Check that cartridge packaging is intact. Do not use unqualified cartridges that are damp, deformed, expired or damaged.
3.Tool Preparation
Prepare a special cover opening wrench, dust-free wiping cloth and flushing pure water. Ordinary rags or dirty tools are prohibited to prevent introduction of fiber, oil stains and impurities.
4.Equipment Shutdown & Lockout
Shut down the reverse osmosis system normally. Close the inlet and outlet valves of the filter, cut off the power supply of the high-pressure pump, hang up a warning sign marked "Equipment Under Maintenance – Do Not Switch On", and implement lockout-tagout to prevent accidental startup.
Section 2 Disassembly & Pressure Relief Operations (Core: Complete Pressure Relief, Standard Disassembly & Assembly)
5.Pressure Relief & Drainage
Slowly open the top vent valve for pressure relief. After confirming the pressure gauge reads zero with no residual pressure, open the bottom drain valve to fully drain all water inside the filter housing.
Opening the cover or performing disassembly under pressure is strictly forbidden to prevent safety accidents and backflow of contaminants.
6.Cover Removal Operation
Use the special wrench to loosen bolts evenly in diagonal sequence, then remove the end cover steadily. Take good care of the end cover sealing ring to prevent collision, scratch, damage or loss, so as to eliminate hidden risks of internal leakage.
7.Remove Used Cartridges & Analyze Water Quality
Pull out the old cartridges vertically and steadily. Tilting or violent pulling is prohibited to avoid contaminants falling off and polluting the filter housing.
Judge faults of upstream equipment based on the contamination condition of cartridges:
Heavy sediment on the cartridge surface: Check sand leakage of the multimedia filter;
Slimy, odorous surface with biofilm growth: Check bacterial proliferation and failure of the activated carbon filter.
Section 3 Filter Housing Cleaning & Fitting Inspection
(Core Requirements: Zero Residues, Zero Hidden Defects)
8.Thorough Housing Cleaning
Pour pure water into the filter housing, wipe the inner wall, bottom and positioning base with dust-free cloth to remove residual contaminants and biofilm. After draining wastewater, rinse the housing with pure water repeatedly for 2 to 3 times, then wipe the housing dry with dust-free cloth. Water droplets, fibers, oil stains and debris must not remain inside.
9.Inspection and Replacement of Seals
Inspect O-rings for end cover and filter cartridges. All seals showing aging, deformation, cracking, elasticity loss or scratches shall be replaced with brand-new ones. Failed seals are the primary cause of fluid bypass and RO membrane contamination.
10.Cleaning and Inspection of Auxiliary Parts
Clean and inspect central positioning rod, spring compression plate, compression nuts and other fittings to eliminate limescale and impurities. Ensure all parts are free of deformation and damage, so that filter cartridges can be installed vertically and firmly.
Section 4 Installation of New Filter Cartridges
(Core Requirements: Precise Alignment & Reliable Sealing)
11. Lubrication of Sealing Elements
Take out new cartridges and put on brand-new sterile gloves. Lubricate the surface of cartridge O-rings with pure water only. Lubricants such as engine oil and grease are strictly prohibited, as they will contaminate water and reverse osmosis membranes.
12.Alignment and Installation of Cartridges
Hold the cartridge vertically, align it accurately with the bottom positioning tube, and press gently into place. Make sure no tilting or deviation occurs, and the bottom seal is tight.
13.Compression and Fixation of Cartridges
Fit the spring compression plate and compression nuts in sequence, then compress evenly. All cartridges shall be firmly secured without shaking. Loose cartridges will cause fluid bypass, allowing untreated water to flow directly to downstream RO membranes.
Section 5 Resetting, Air Venting, Flushing & Leakage Test
(Core Requirements: Complete Air Removal, Zero Leakage)
14. Fasten the Top End Cover
Clean contaminants off the sealing surface and reinstall the end cover. Tighten bolts evenly in diagonal batches to ensure uniform stress on the sealing surface and prevent water and air leakage.
15Verify Valve Status
Confirm the bottom drain valve and blowdown valve are fully closed, and all pipeline valves are set to normal maintenance positions.
16.Fill Water for Full Air Venting
Slightly open the inlet valve and the vent valve to feed water slowly. Close the vent valve only after steady bubble-free water flows out, completely eliminating risks of air blockage inside the housing.
17.Low-pressure Flushing for Impurity Removal
Keep the high-pressure pump power locked off, open the product water drain valve, and perform low-pressure flushing on cartridges for 5–10 minutes. This washes away residual fibers, dust and trapped air to stop impurities from entering the reverse osmosis system.
18.Comprehensive Leak Inspection
Check the end cover, pipelines and valve connections during flushing to confirm no seepage, dripping or air leakage exists.
Section 6 Data Recording & System Restoration
19.Maintenance Data Logging
Accurately record the cartridge replacement date, equipment operating hours, initial pressure differential of new cartridges and seal replacement details. Establish a maintenance logbook for later monitoring and traceability.
20.Recheck Before System Restart
After confirming no leakage and qualified flushing results, remove the equipment lockout, reset all valves, and start the RO system per operating procedures. Immediately recheck the filter pressure differential and all sealing points after startup to guarantee stable equipment operation.
Summary of Critical Prohibitions
Bare-hand contact with filter cartridges, sealing surfaces and the interior of filter housing is strictly forbidden to avoid artificial secondary contamination.
Opening the cover or disassembling under pressure is prohibited. Complete pressure relief and drainage must be performed before operation.
Reuse of aged or deformed sealing parts is not allowed to fully eliminate hidden risks of internal leakage and fluid bypass.
Tilted or loosely installed cartridges are forbidden to prevent fluid bypass that causes contamination of membrane elements.
Skipping the low-pressure flushing step is prohibited, which would let impurities from new cartridges enter the reverse osmosis system.